Last updated November 22, 2026
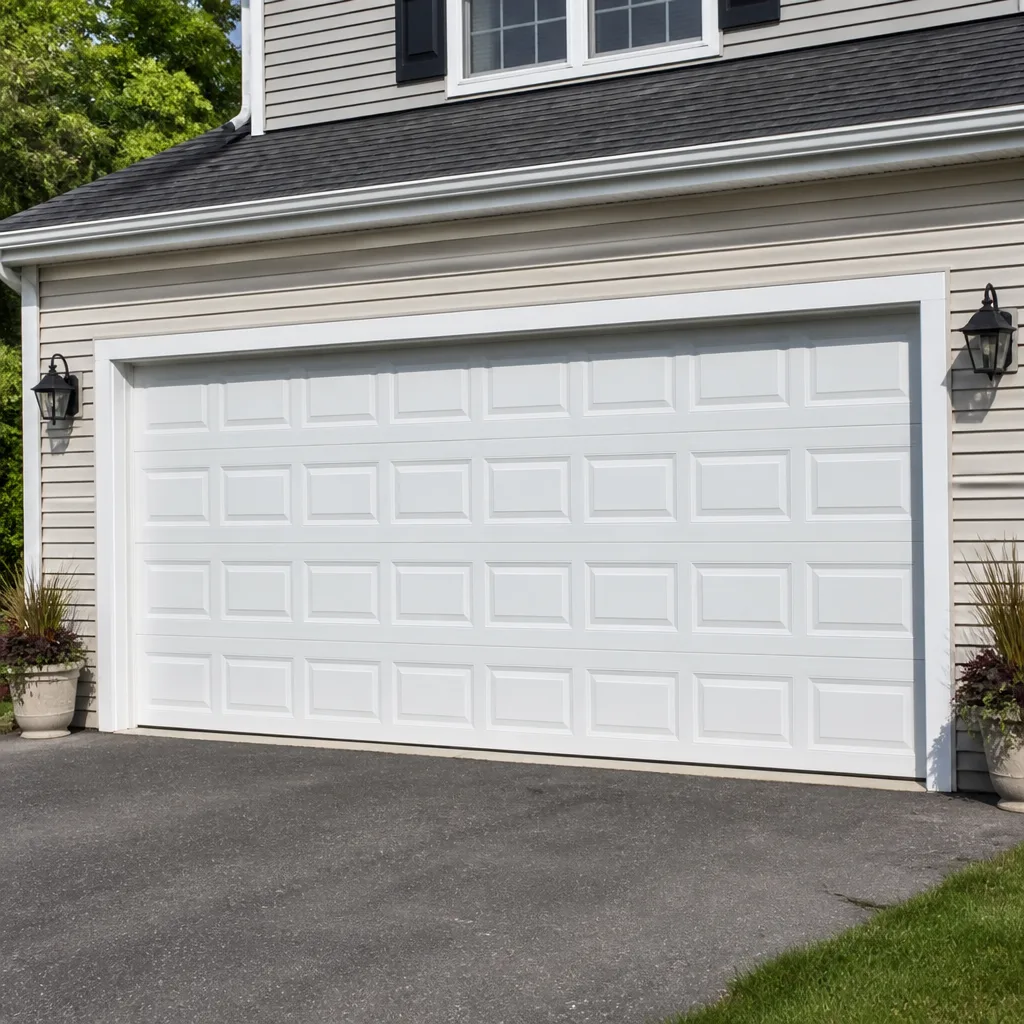 Raised-panel steel
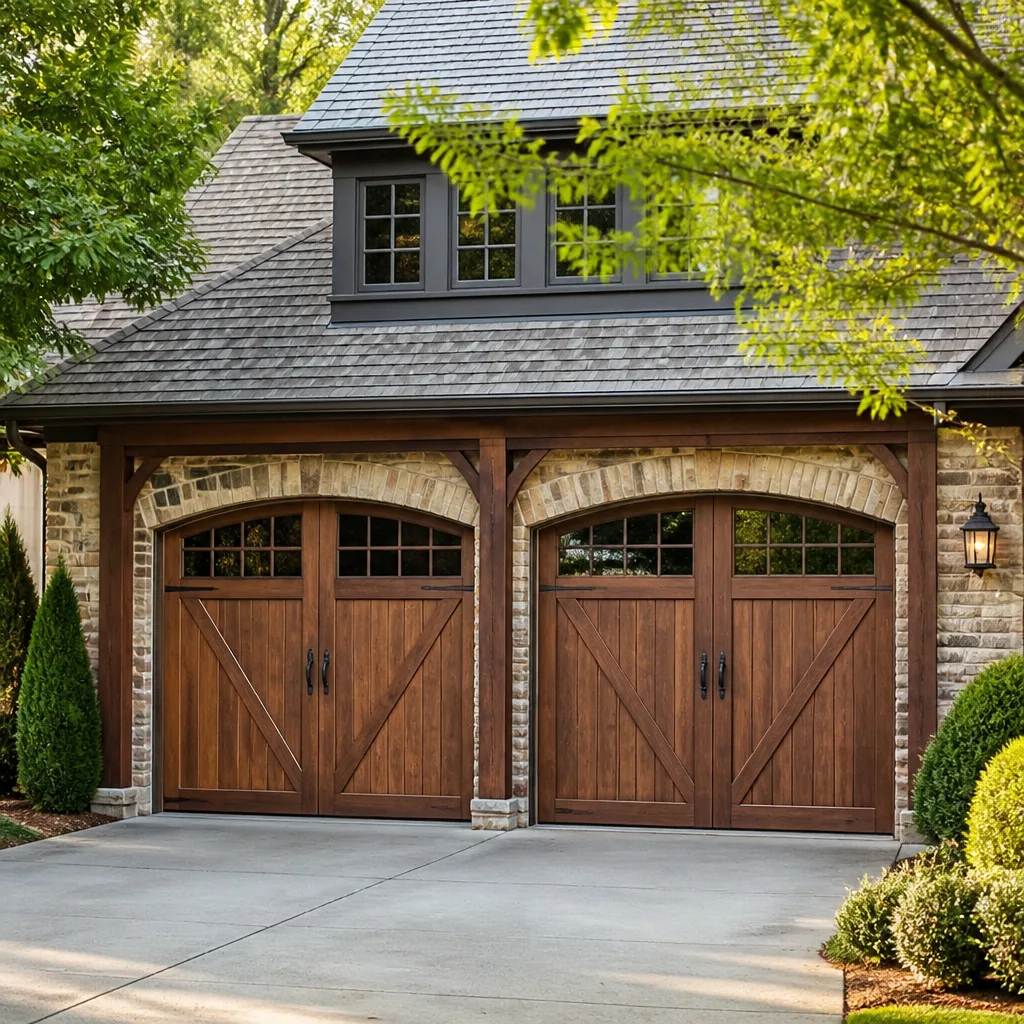 Carriage house
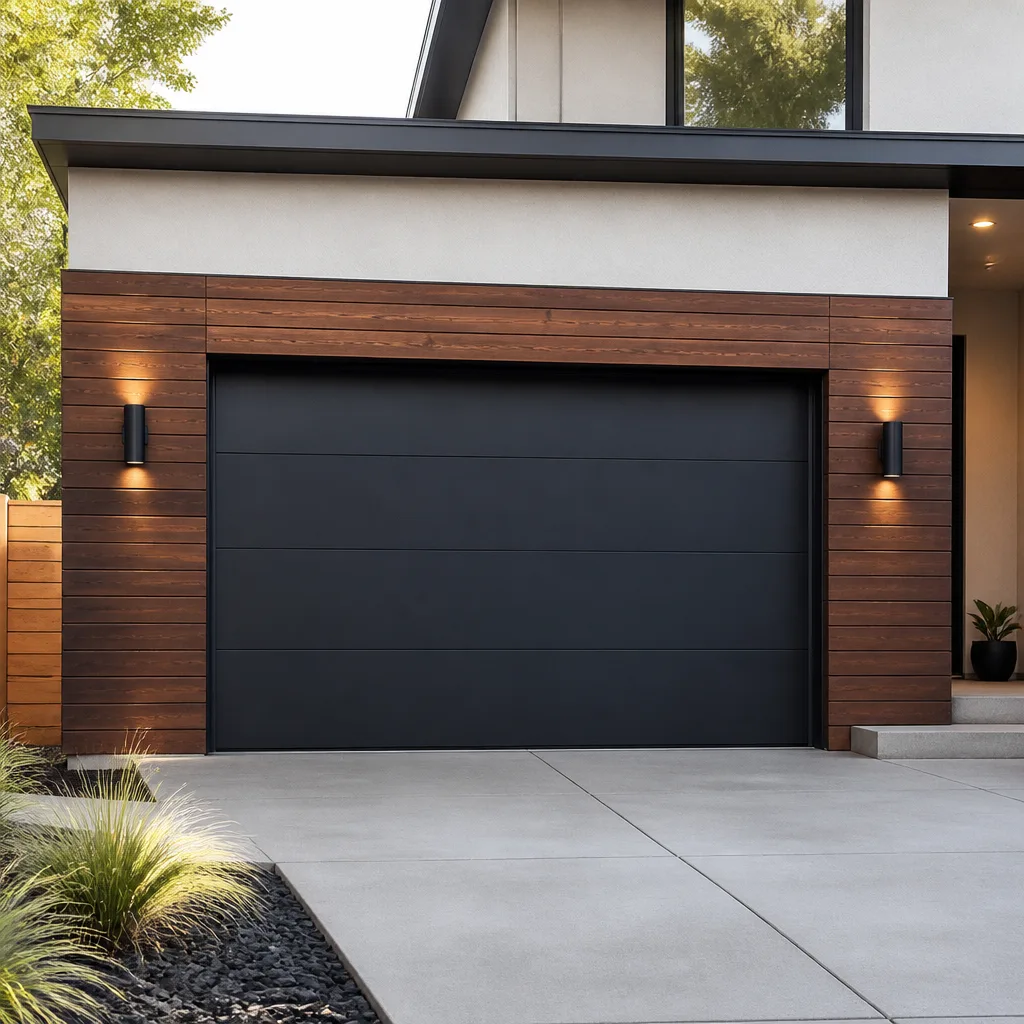 Modern flush
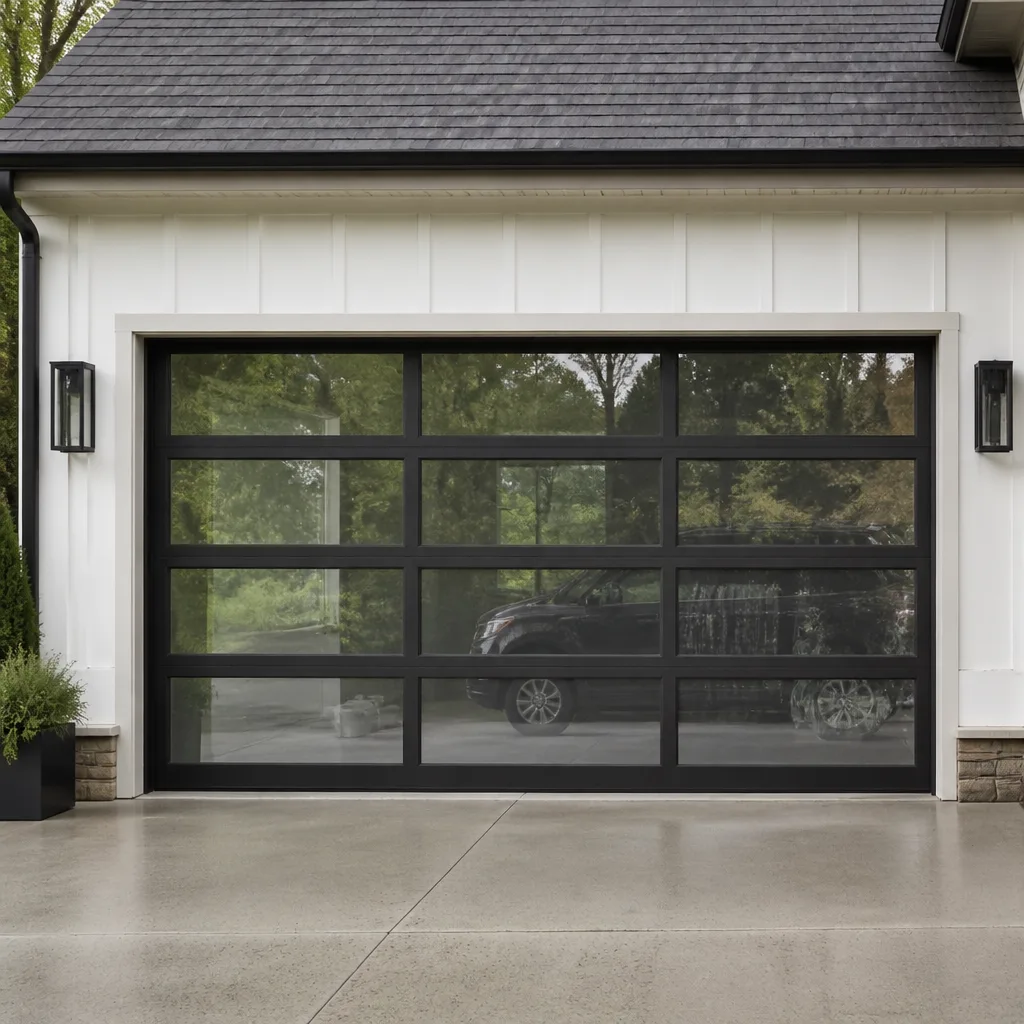 Full-view glass
 LiftMaster openers
 Chamberlain openers
Full 25-point door and opener safety check with every visit - springs, cables, rollers, tracks, and your LiftMaster or Chamberlain opener included
You get a price before we start. It does not change when the pro arrives.
Get your free estimateGarage Door Repair Maintenance Checklist for Reynoldsburg Homeowners
Of all the well-meant things homeowners do to a garage door, spraying WD-40 on the torsion spring is the one that quietly does the most harm. Spring coils are wound tightly together; a thin solvent oil creeps in, holds onto dust and grit, and turns the coil surfaces into a grinding paste. The spring still sounds smooth for a while. Then it snaps, usually on a cold morning when you’re already late. What follows is a technician’s version of a maintenance checklist: for each component, what it looks like when it’s healthy, what a failing one looks and sounds like, why it matters, and whether it’s a homeowner task or a hands-off job. Reynoldsburg homeowners can run most of it with a flashlight and a few minutes.
Quick Answer
A garage door maintenance checklist for Reynoldsburg homes should cover lubrication with the right product for each part – not WD-40 – a monthly balance test, a visual check of cables, drums and bottom brackets without touching them, a seasonal round before the first freeze and again in spring, and a clear stop line: anything involving springs, cables, drums or brackets is professional work. Most of the safe checks take fifteen minutes and catch problems weeks before they strand a car.
Styles & brands we work with
- Raised-panel steel
- Carriage house
- Modern flush
- Full-view glass
- LiftMaster openers
- Chamberlain openers
Table of Contents
- Why Reynoldsburg Doors Need a Real Maintenance Routine
- The Right Lubricant for Every Component (and What Not to Use)
- The Balance Test: What It Tells You Before a Spring Fails
- Safe Visual Checks: Cables, Drums and Bottom Brackets
- Seasonal Checklist: Before the Ohio Winter, After the First Hard Freeze, and Into Summer
- Opener and Safety-Reverse Checks
- Go/No-Go Lines: Where Maintenance Becomes Professional Work
- Common Mistakes to Avoid
Why Reynoldsburg Doors Need a Real Maintenance Routine
Reynoldsburg sits in central Ohio, which means garage doors here live through a wide swing: humid, storm-heavy summers and winters where the temperature drops below freezing and stays there for stretches. Metal expands and contracts with that swing. Wood and composite panels take on moisture in July and dry out in January. A door that gets no attention at all is essentially a set of parts slowly working loose in a house that’s constantly changing shape around it.
There’s a second local factor that has nothing to do with weather. A lot of Reynoldsburg’s housing stock includes older subdivisions where doors and openers have been in place for many years, sometimes with one owner, sometimes with several. A door that came with the house may never have had its springs, cables or rollers looked at. The hardware can be original while the paint is fresh.
Maintenance isn’t about making a door last forever. It’s about two simpler goals:
- Safety. A torsion spring under load stores real energy. The parts around it can injure someone badly if they let go or if a homeowner tries to adjust them without knowing how.
- Early warning. Nearly every emergency we get called for – a snapped spring, a door off its track, an opener that won’t lift – has a visible or audible symptom weeks before it happens. A routine catches that symptom while it’s still a repair, not an emergency.
If your door is already making noise, dragging or refusing to open, skip the checklist and look at our Garage Door Repair Reynoldsburg page instead – that’s the emergency path. The checklist below is for doors that still work but may be telling you something you haven’t noticed.
The Right Lubricant for Every Component (and What Not to Use)
This is where most well-meant maintenance goes wrong. A garage door has four moving systems that need different treatment, and a single spray can of the wrong product does more harm than nothing at all. Here’s the component-by-component version we’d give a homeowner over the phone.
Springs: a light, thick-bodied lubricant, and never WD-40
Spring coils benefit from a product designed to stay put – a garage-door-specific spring lubricant, a silicone-based spray, or a light white lithium grease. Whatever you use should be thick enough to coat the coil and stay there. WD-40 and other thin solvent sprays don’t lubricate a spring; they clean it, attract grit, and dry out. On a torsion spring, leaving the coils dry and unlubricated accelerates wear on the coil surfaces. Apply a light coat along the coil, not a heavy drip.
One caution: oiling a torsion spring is safe only if you stay away from the winding hardware at the ends. Do not touch the winding bars, the cones or the set screws. If a spring looks rusty, has a visible gap or a bend, do not oil it and do not touch it – call for garage door spring repair. That’s a job where handling the part wrong can cause serious injury.
Rollers: a drop of lubricant on each stem, not the wheel
Nylon rollers need almost nothing – a drop of light oil on the metal stem at each roller, twice a year. Steel rollers benefit from a slightly heavier lubricant on the bearing surface. The wheel itself doesn’t need oil. If a roller wobbles or the wheel is worn to a flat spot, oiling it won’t help; it needs to be replaced. A single failing roller will make the door noisy and pull it slightly out of alignment.
Hinges: a spot of grease or oil at each pivot
Each hinge has a knuckle and pin. A drop of grease or a light oil at the pivot points quiets the door considerably. Do not oil the flat plates that rivet to the door panel – that’s where paint and finish live. If a hinge is bent or the metal has cracked around its rivets, it’s a replacement, not a lubrication job.
Tracks: wipe, don’t spray
Tracks are the most commonly over-lubricated part of the door. They don’t need oil. They collect dust, and any oil you put in them turns the dust into a gritty paste. The right approach is a clean rag and a light wipe down the inside vertical and horizontal rails. If a track is bent, do not try to bend it back – it’s a professional adjustment.
What not to use, ever
- WD-40 or any thin solvent spray on springs, hinges or rollers – it’s a cleaner, not a lubricant.
- Cooking spray or generic household oil on any moving part – it goes tacky and attracts grit.
- Grease in the tracks – it traps dirt and slows the door.
- Anything at all on the torsion spring hardware – the winding cones, bars and set screws stay untouched.
The Balance Test: What It Tells You Before a Spring Fails
The balance test is the single most useful routine check a homeowner can do, because it tells you whether the springs are still carrying the door’s full weight or whether they’ve quietly weakened. A door that lifts by hand with light effort is balanced; a door that feels heavy is telling you the springs are losing tension, and a spring that’s lost tension is not far from snapping.
How to run a valid balance test
- Disconnect the opener. With the door fully closed, pull the emergency release cord (usually a red handle hanging from the opener trolley) so the door moves on its own tracks only.
- Lift the door by hand to about waist height. It should feel light and controllable. Don’t strain it if it feels like lifting a car.
- Let it go gently. A balanced door should stay roughly where you leave it, in mid-air, after you let go.
- Repeat at knee height and about halfway open. The door should hold at each point without drifting.
- Reconnect the opener by running the door up until the trolley clicks back into the bracket, or by pulling the release cord and running the opener until it re-engages.
What the result tells you
- Door stays where you put it at every height: springs are balanced. Keep lubricating and testing monthly.
- Door sinks slowly on its own: springs are losing tension or a cable has slipped. Do not keep using the door hard – book a professional check.
- Door rises on its own or feels very light: springs are over-tensioned, which is just as dangerous as under-tensioned. Stop using the door and call a technician.
- Door feels extremely heavy or won’t lift by hand: a spring has likely failed or is about to. Do not force it. Stop and call.
For Reynoldsburg homes where the door is already noisy or heavy, that last result is the most common. When a spring is broken, the door is being lifted entirely by the opener – which is why a failing opener often gets blamed for a spring problem that’s been brewing. If yours has started hesitating or reversing partway up, our garage door opener repair page covers what that typically means. Springs and openers are two different diagnoses, and it’s worth knowing which you’re facing before you start replacing parts.
Safe Visual Checks: Cables, Drums and Bottom Brackets
Three components cause most of the serious garage door injuries every year: the torsion spring, the cables that run from each corner of the door up to the drums, and the bottom brackets where those cables attach. All three are safe to look at. None are safe to touch, adjust or lubricate without knowing how to release the tension first. This is the section where we’d stop a homeowner who wants to “just snug up that cable.”
Cables: what’s safe to assess
- Checked: the whole cable run from bottom bracket up the side of the door, up to the drum at the top. Look for frayed strands, especially near the drum and bottom bracket where they flex most.
- Checked: whether the cables look even on both sides. One sagging cable with the other tight is a sign of wear or a slipping drum.
- Checked: rust along the cable. A rusty cable loses strength and is more likely to snap.
- Not safe: touching, tightening, loosening or re-routing a cable. A cable under tension can cut a hand badly if it releases. If you see fraying, rust or slack, stop using the door and call.
Drums: what to look for from a distance
The drums are the grooved spools at the top of each side where the cable winds. From the floor, look for cable that has come out of its groove or is wound unevenly across the drum. An uneven wind is the start of a cable jumping off, and once a cable comes off a drum the door drops. Again, this is a look-only check. Any sign of a cable off its groove means stop and call.
Bottom brackets: without touching
The bottom bracket at each lower corner anchors the cable and holds the door’s lifting force at the bottom edge. Inspect it visually: is the metal bent, cracked or loose against the door panel? Are the bolts obviously hand-loose? Any of those is a professional fix. The bottom bracket is one of the most dangerous parts on the whole system because the cable tension runs straight into it – do not put a wrench on it. Even a slightly loose bracket, once it fails, will release the cable in a hurry.
For everything in this section, the rule is: if you’re not sure what you’re looking at, that’s your answer. Look only, write down what you see, and consult a technician before doing anything else.
Seasonal Checklist: Before the Ohio Winter, After the First Hard Freeze, and Into Summer
Reynoldsburg doors go through three checkpoints a year: the fall round before the cold sets in, a check after the first hard freeze, and a spring round as temperatures start to climb. Each catches a different set of problems.
Before the first hard freeze (late fall)
- Lubricate springs, hinges and rollers with the products above. Cold weather thickens any lubricant that’s too heavy, so use a lighter coat going into winter than in summer.
- Run the balance test with the opener disconnected. Cold weather is when weakened springs fail – better to know now than on a -10 morning.
- Wipe down the tracks. Cold weather makes any grit in the tracks drag harder.
- Test the safety reverse with a small object under the door (explained in the opener section below).
- Look at the door’s weather seal along the bottom. A torn seal lets cold air and moisture in, and the bottom of the door takes the worst of it.
- Visual check of cables and drums for fraying or rust before the freeze.
After the first hard freeze (early winter)
- Listen to the door. Any new creak, clunk or pop that appears after the temperature drops is worth investigating.
- Run a quick balance test. The first freeze is when weakening springs tend to go.
- Check that the door still seals flat against the ground – frozen ground can lift or shift a door slightly.
- Confirm the opener still fully opens and closes the door without reversing on its own.
Heading into summer (spring)
- Lubricate springs, hinges and rollers again.
- Clean the tracks; summer grit is worse than winter grit because it mixes with pollen and dust.
- Run the balance test.
- Check that weather stripping hasn’t dried out or cracked over winter.
- If the door is wood, look for paint peeling on the bottom edge – wet spring weather finds any bare wood quickly.
None of these rounds takes more than twenty minutes on a typical Reynoldsburg two-car door. Done three times a year, they’re the difference between a routine checkup and a call for garage door repair on a workday when the door won’t lift.
Opener and Safety-Reverse Checks
The opener isn’t just a convenience – it’s a safety device. Every opener made in the last few decades has two safety systems built in: a force setting that stops the door if it meets resistance, and a pair of photo-eye sensors near the floor that stop and reverse the door if something breaks the beam. Both need to be tested, and both are homeowner tasks.
Here’s the quick test:
- Open the door fully, then close it with the wall button. Watch that it closes smoothly at a steady speed.
- While it’s closing, wave a broom handle or a similar object through the photo-eye beam near the floor. The door should reverse immediately and go back up. If it doesn’t, the sensors are misaligned or the opener needs service.
- Lay a piece of wood, or something solid a couple of inches thick, on the ground under the door’s path. Close the door with the wall button. It should reverse within a second of hitting the object. If it grinds or continues down, the force setting needs adjustment.
- Check that both photo-eye lenses are clean and facing each other. Spiderwebs and dust across the lens are the most common reason a door refuses to close.
Openers from LiftMaster, Chamberlain, Genie and Raynor all use broadly the same photo-eye and force-setting logic, though the exact buttons and menus differ. Craftsman openers have their own adjustment procedures. If your opener’s manual is long gone, don’t guess at the force setting – a force setting that’s too high is a safety issue. If your door reverses for no obvious reason, hesitate at the top, or open with a flashing light and nothing else, the issue is often in the opener electronics rather than the door itself. That’s where garage door opener repair fits, and our technicians have up to 13 years of experience working with all the major opener brands.
Go/No-Go Lines: Where Maintenance Becomes Professional Work
This is the part that gets skipped in most DIY garage door checklists. Some maintenance is a homeowner task. Some is a professional task. The reason isn’t liability language – it’s that a few of these parts store enough force to hurt you badly if they let go. Here’s where the line falls.
Homeowner-safe
- Lubricating springs, hinges and rollers (with the right products, not WD-40)
- Wiping down the tracks
- Running a balance test with the opener disconnected
- Visual inspection of cables, drums and bottom brackets – look only
- Testing the photo-eye and force reverse on the opener
- Cleaning photo-eye lenses and replacing the batteries in the remote
Call a professional
- Touching, tightening, re-routing or replacing a cable
- Adjusting, replacing, unwinding or re-tensioning a spring
- Touching the bottom brackets
- Adjusting track alignment if a track is visibly bent
- Adjusting force settings on an older opener with no documentation
- Replacing hinges, rollers or brackets on a door more than one step up a ladder from the ground, on uneven ground, or over a sloped driveway
- Anything where you’re not sure what you’re looking at
The spring and cable work on that second list sits in the same category as electrical panel work – the parts carry stored energy, and the wrong move releases it. A trained technician has the tools to hold that tension safely and the experience to know when a part is about to fail. That’s also why spring replacement is one of the jobs we take most seriously – it’s a named, practiced specialty, not a generalist task. If you’re not sure whether you’re on the homeowner side or the professional side of any item above, call us. We’d much rather talk you through a safe check than hear about an injury.
Common Mistakes to Avoid
- Spraying WD-40 on the spring. It’s the wrong product for a spring; it acts as a solvent that attracts grit and accelerates wear. Use a spring-specific lubricant, silicone spray or white lithium grease instead.
- Oiling the tracks. Tracks don’t need oil. Once you oil them, dust settles and turns into a paste that slows the door and adds wear. Wipe with a clean rag.
- Skipping the balance test. It’s the only homeowner check that catches a weakening spring before it fails. In Reynoldsburg’s colder months a weak spring is the most common reason a door stops opening.
- Tightening a bottom bracket “just to be safe”. That bracket is holding cable tension. Loosening it, even a quarter turn, can release the cable. Leave it alone.
- Adjusting the opener’s force setting blind. If your manual is lost and the door reverses for no reason, don’t crank the force up to make it work. A force setting that’s too high defeats the safety reverse system.
- Ignoring a new noise. A door that’s started to creak, pop or clunk is telling you something. Getting it checked while it’s still a small issue is far cheaper and easier than waiting until it’s an emergency call.
- Assuming the door came with maintenance. Older Reynoldsburg homes often have doors that have never had their springs, cables or rollers inspected. A fresh coat of paint on the door doesn’t mean the hardware underneath is healthy.
See the difference
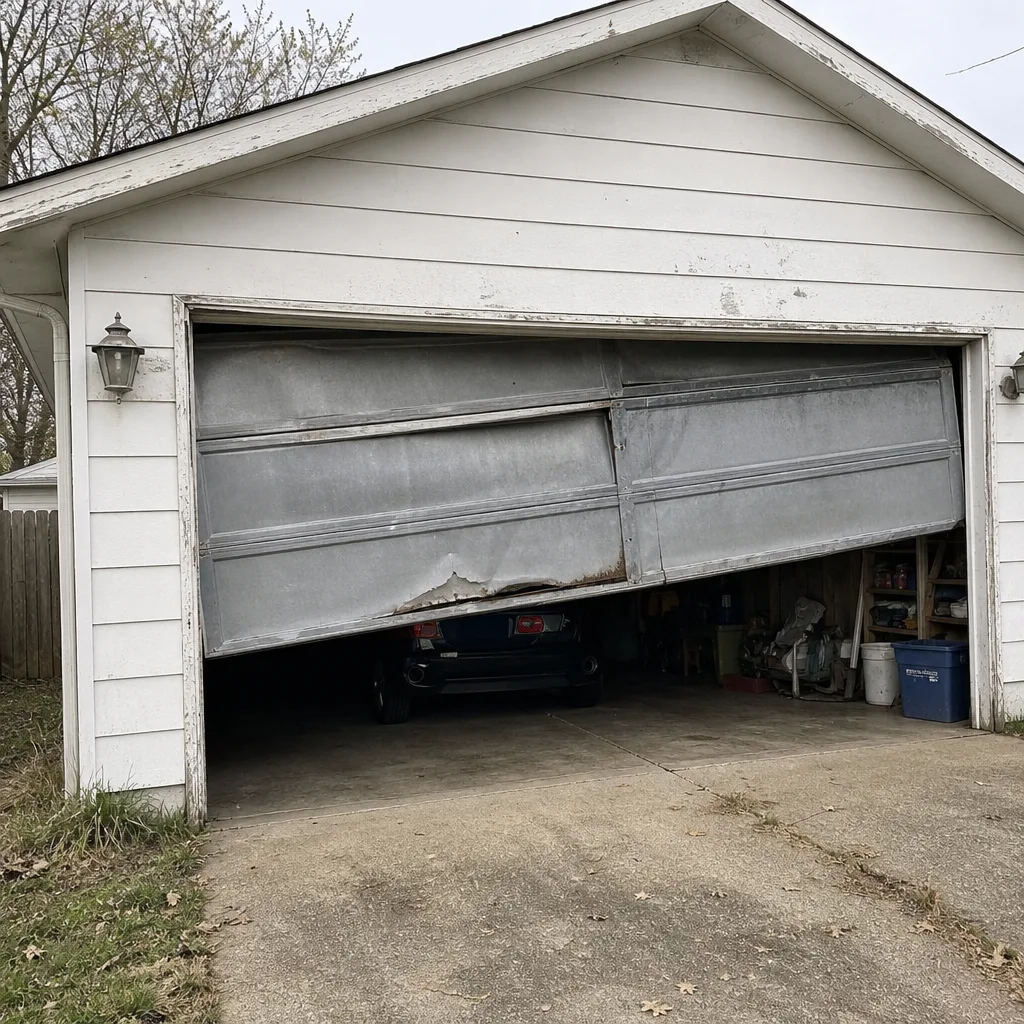 Before
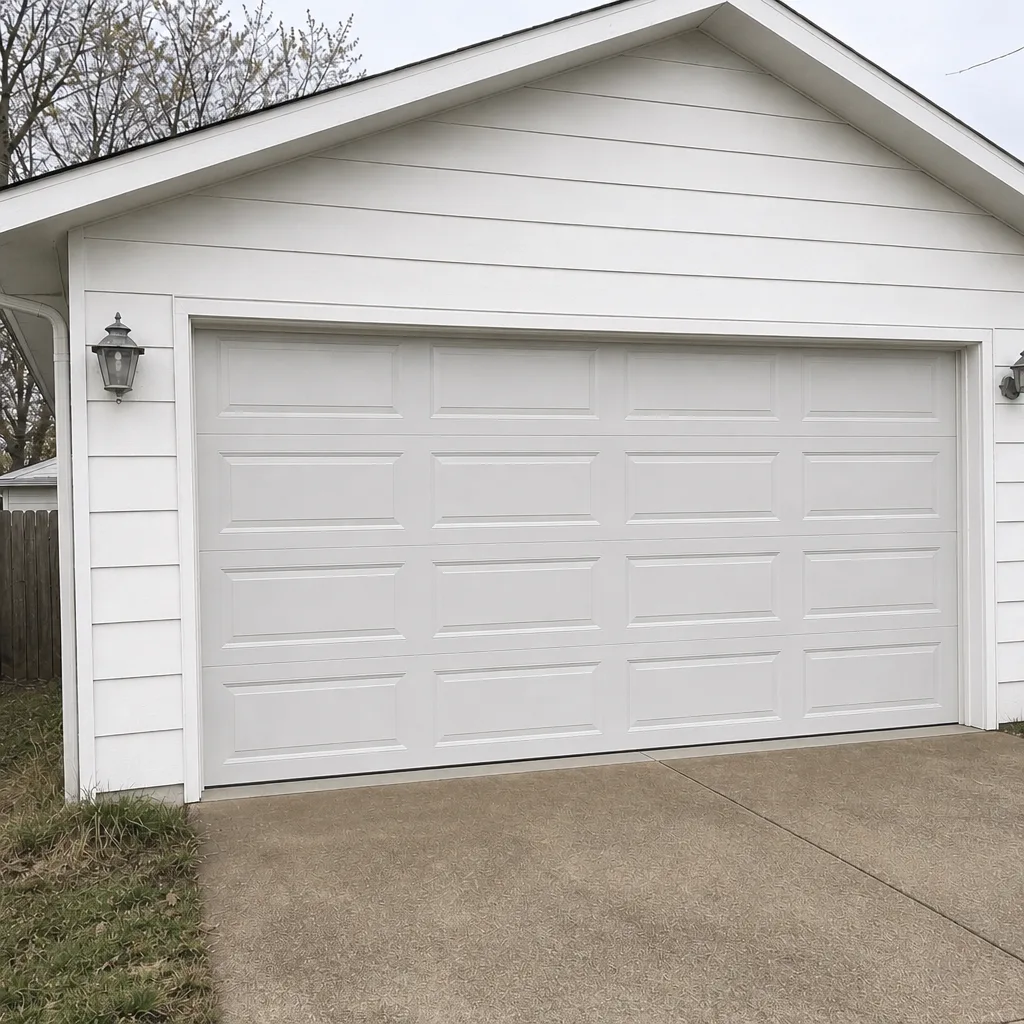 After
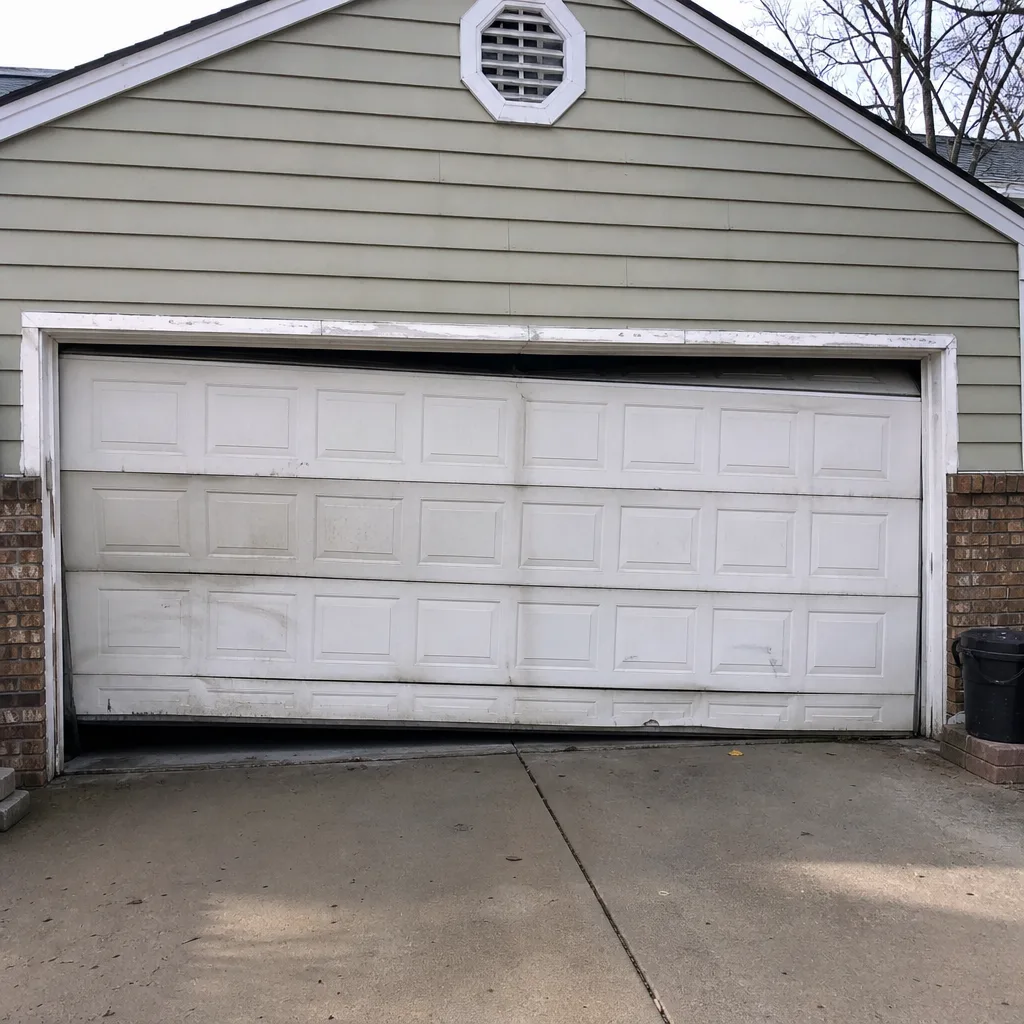 Before
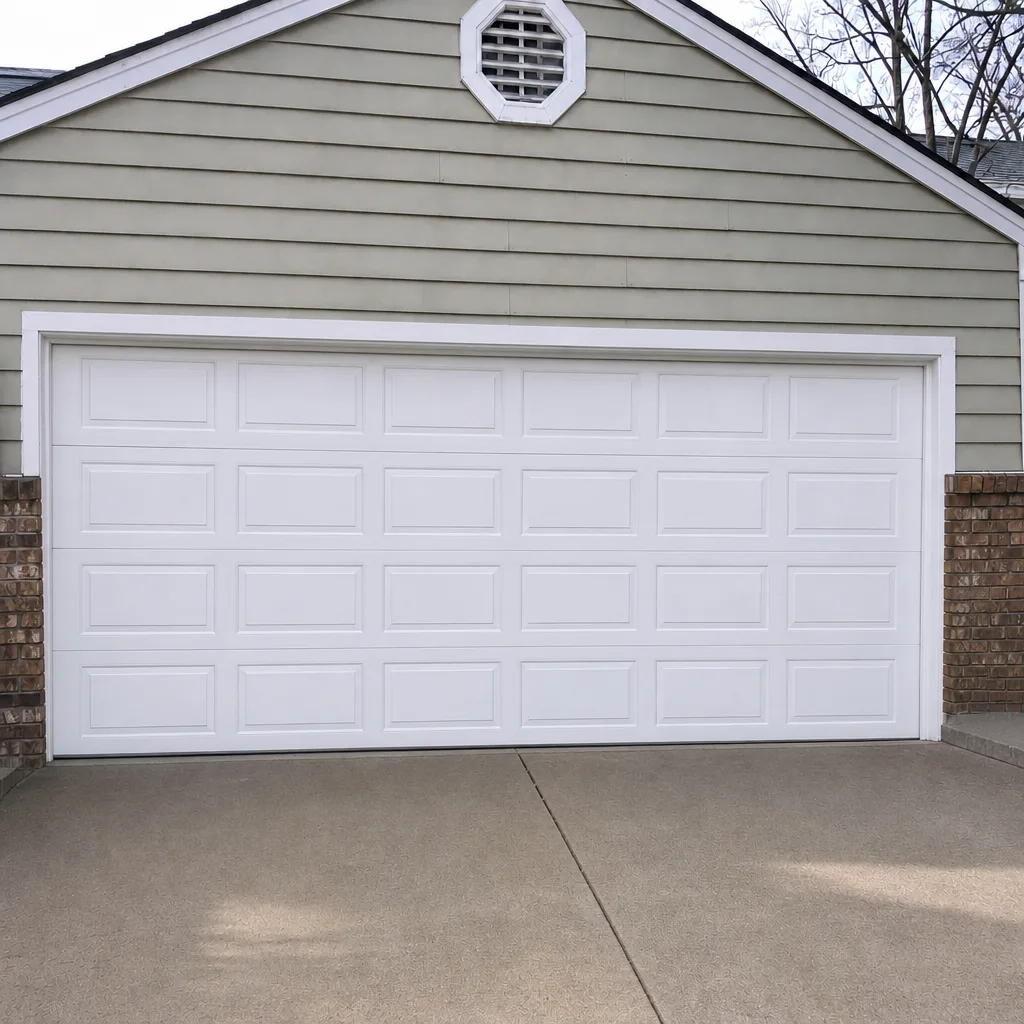 After
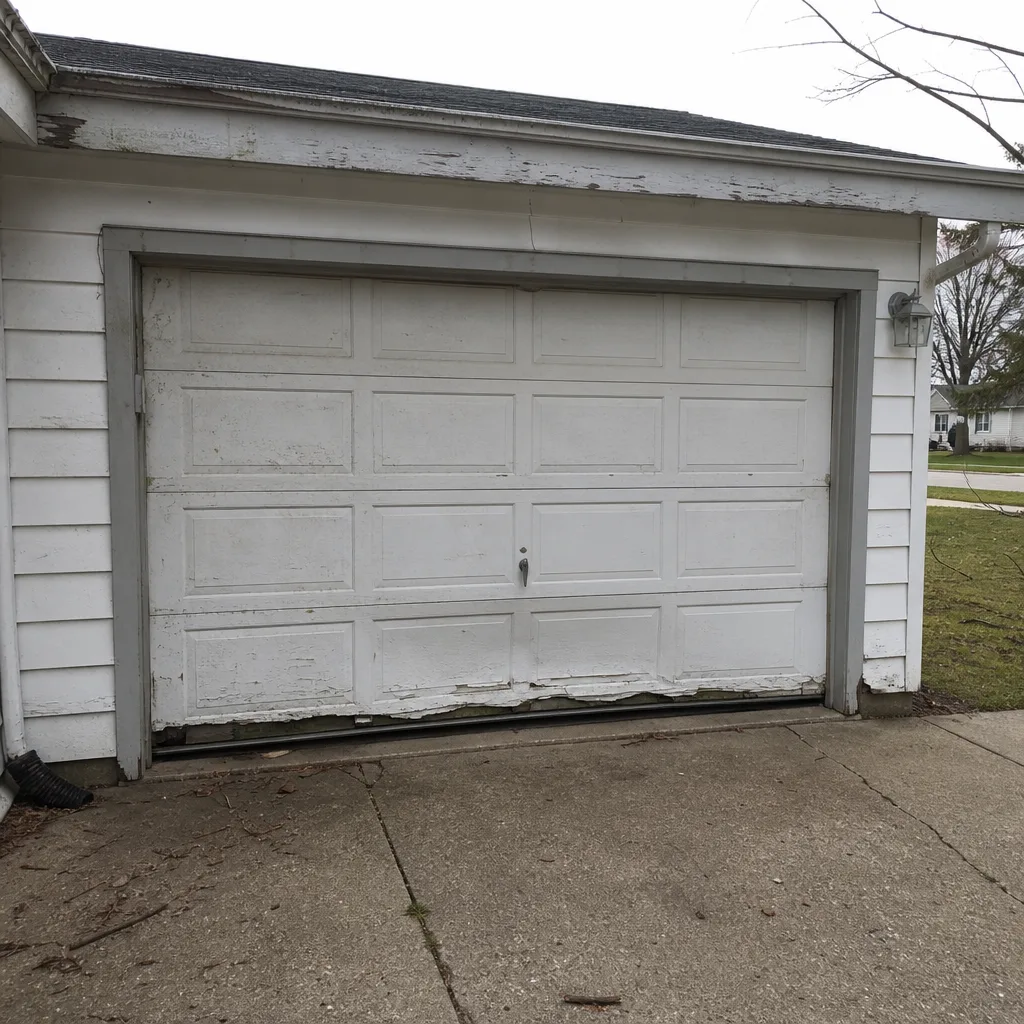 Before
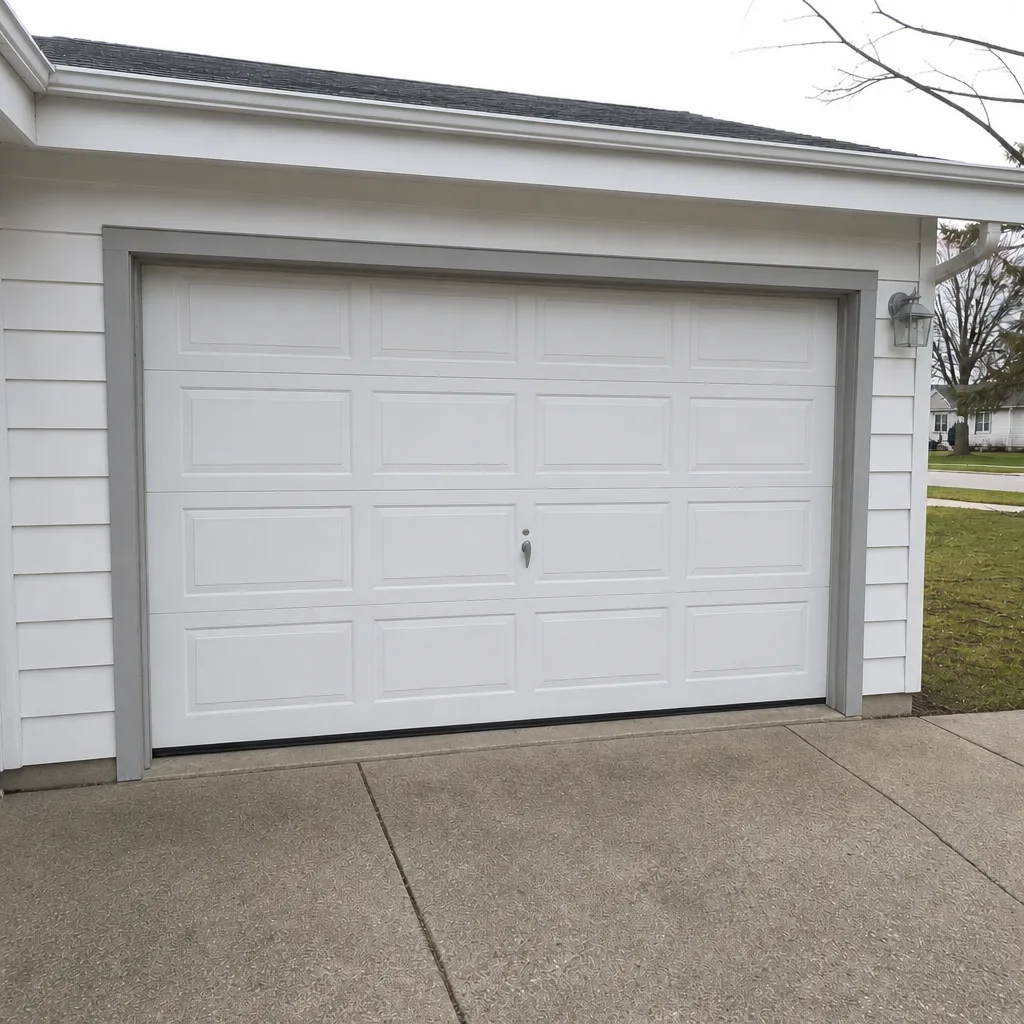 After
When to Call a Professional
Call a professional the moment any of the following is true: the door feels heavy or wouldn’t hold mid-air during the balance test; a spring shows any visible gap, bend or rust; any cable looks frayed, slack or rusty; a bottom bracket is bent or loose; the door has come off its tracks; the opener reverses for no reason, stops partway up, or works with a flashing light and nothing else; or you’re not sure whether what you’re looking at is a small problem or a big one. Any of those put the door in the professional column, and no homeowner should try to handle them.
Garage Door Repair Reynoldsburg offers free estimates in Reynoldsburg – call (833) 901-6679. We work on garage doors only, which means the diagnosis is deep rather than general, and the price is quoted and agreed before any work starts. If you’re a planner working through the checklist before a big seasonal round, our Garage Door Repair Reynoldsburg page is a good place to start; if the door has already failed, call us first and we can get it looked at.
Frequently Asked Questions
Twice a year is typical – once in the fall before the first hard freeze and once in spring. If your door gets heavy use, a light round three times a year in fall, winter and spring keeps the hardware quieter. Use a spring-specific lubricant or silicone spray, not WD-40, which is a cleaner rather than a lubricant. If you haven’t lubricated the door in a year or more, book a professional inspection along with the next round; call (833) 901-6679 for a free estimate.
No. Garage door springs are under heavy tension, and handling them without the proper winding tools and training risks serious injury. That’s not a liability disclaimer – it’s a real safety restriction. Spring replacement is a trained-professional job, and it’s one of the specific services we handle. If your spring has broken or looks like it’s about to, call (833) 901-6679 for a free estimate rather than attempting it yourself.
Nine times out of ten it’s the photo-eye sensors – the small lenses near the floor on each side of the door. Dust, spiderwebs, misalignment or a bump out of position will trigger a reverse. Clean the lenses and check that they’re facing each other and the indicator light on each is steady. If the door still reverses after that, the issue is usually in the opener or its force setting. That’s the point to call for garage door opener repair – call (833) 901-6679 and we can take a look.
Three signs: the door feels unusually heavy when you lift it by hand, the door sinks on its own during the balance test, or you can see a visible gap or bend in the spring coil. A slight rust line along the spring can also be an early sign. Any of those means stop using the door and get it checked. A failing spring is one of the most common causes of a door that won’t open at all, so catching it before it snaps saves both repair cost and a stranded car.
No. Tracks should be wiped clean with a rag, not lubricated. Oil in the tracks attracts dust and grit, forms a paste, and actually makes the door harder to move and noisier over time. If you’ve already oiled them, wipe them down thoroughly and switch to a dry rag on a regular schedule.
Lubricate springs, hinges and rollers with a lighter coat than you’d use in summer. Run a balance test with the opener disconnected. Wipe down the tracks. Check the bottom weather seal for tears. Test the photo-eye reverse and force reverse. Look at the cables and drums for fraying or rust before the freeze. If any of those turns up a problem, get it addressed before the cold – a spring that fails in winter is a much more inconvenient fix. Call (833) 901-6679 for a free estimate.
The Bottom Line
A garage door maintenance checklist only earns its keep if it tells you what to look for, not just what to lubricate. The three things that matter most in Reynoldsburg are: use the right product for each component (and never WD-40 on a spring), run a balance test monthly to catch a weakening spring before it fails, and know exactly where the homeowner line sits – which is before you touch a spring, cable, drum or bottom bracket. The seasonal rounds in fall, after the first freeze and in spring catch most problems while they’re still small.
If any item on this guide turns up something you’re not sure about, the safest move is a professional look. Garage Door Repair Reynoldsburg works on garage doors only, and we cover the full set of brands you’ll find in Reynoldsburg homes – including LiftMaster, Chamberlain, Genie and Raynor – plus spring repair, opener repair and full installations. Our technicians have up to 13 years of experience, and the price is always quoted and agreed before any work starts.
Call (833) 901-6679 for a free estimate. We’d rather help you diagnose a small issue today than hear from you after it’s become an emergency, and a routine check is the cheapest way to keep the door opening every morning.
Written by the team at Garage Door Repair Reynoldsburg.